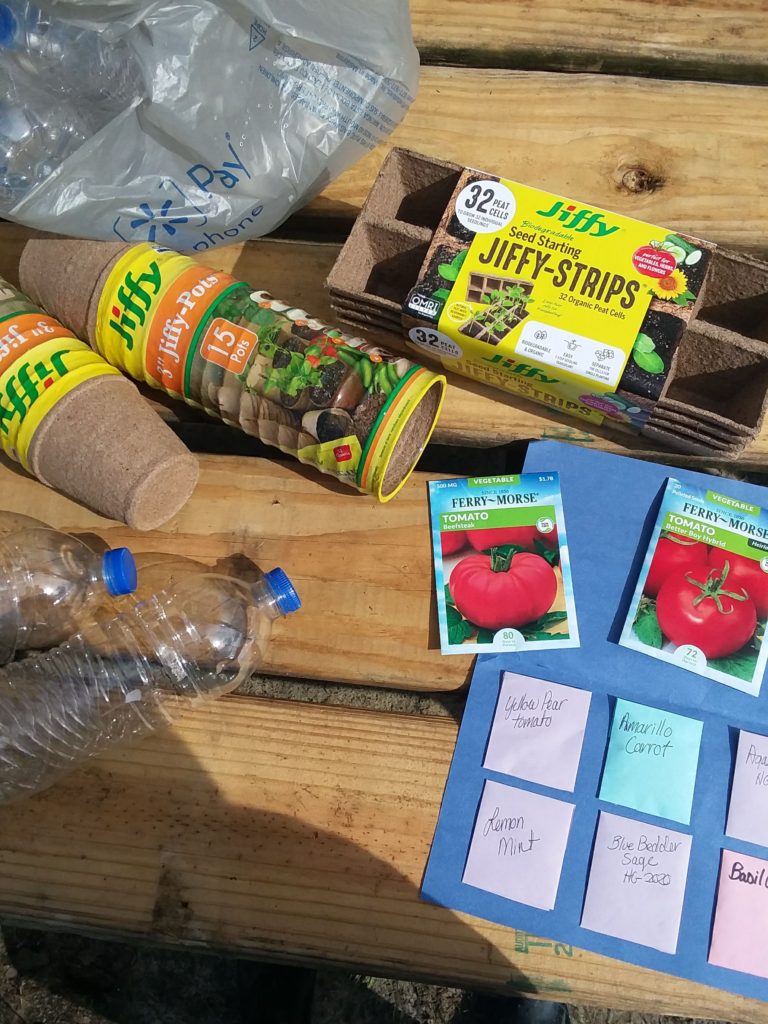
I am so ready to plant my big vegetable garden ya’ll! I know it is not time just yet. Spring is still a bit away. However, we have begun planning. We are going to build two large raised bed gardens. We haven’t had any in-ground vegetable gardens for the last couple of years due to Hurricane Michael damaging our property. This year we have decided to tackle it head-on! That is going to be a big project but the family is all going to pitch in to help. In preparation, I have a head start planting vegetable seeds for it. By the time the raised bed gardens have been built, they will be ready to plant outside in them. Consider what vegetables you would like to help “seed” your way into spring.
Gather Your Supplies
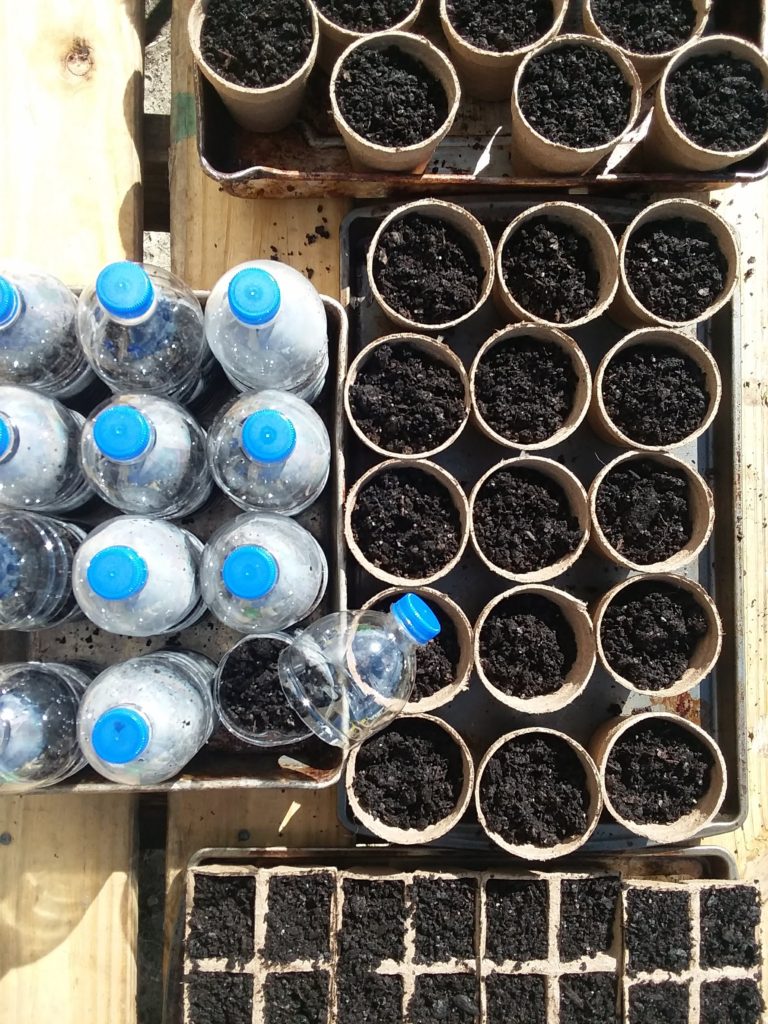
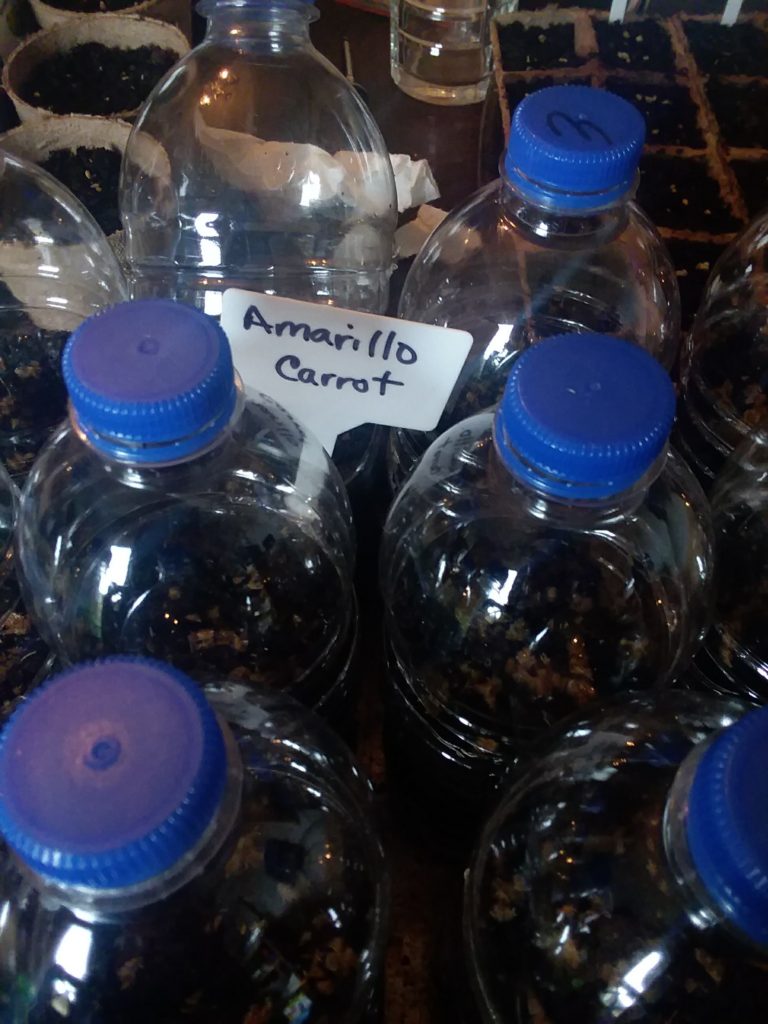
To “seed” your way into spring you are going to need to gather a few supplies. Greenhouse planters are wonderful to start your seeds in. The cost of those wonderful greenhouse planters can add up. Here is a way to reduce the cost and repurpose everyday items at the same time. Save water bottles to use as mini greenhouse planters. Simply remove the labels, use scissors to poke a hole in the side about two-thirds the way up, and cut around leaving a small section of the bottle still intact. Plastic soda bottles and milk jugs are also great mini greenhouse options. The plastic is thin and easy to cut through. Both will need to be washed first.
Be creative with the type of seedling planters that you use. Eggshells, pudding or fruit cups, paper towel rolls cut into smaller sections, or even your cupcake tin are all examples of what can be repurposed at no cost. Save the money on this to spend on your seeds and potting soil mix. Here is a list of the rest of the supplies you will need to gather.
- Various Vegetable/Flower Seeds
- Greenhouse Planters
- Biodegradable Seed Trays/Cups
- Potting Soil
- Garden Spade
- Garden Gloves
- Spray Bottle To Water Plants With
- Water
- Baking Trays
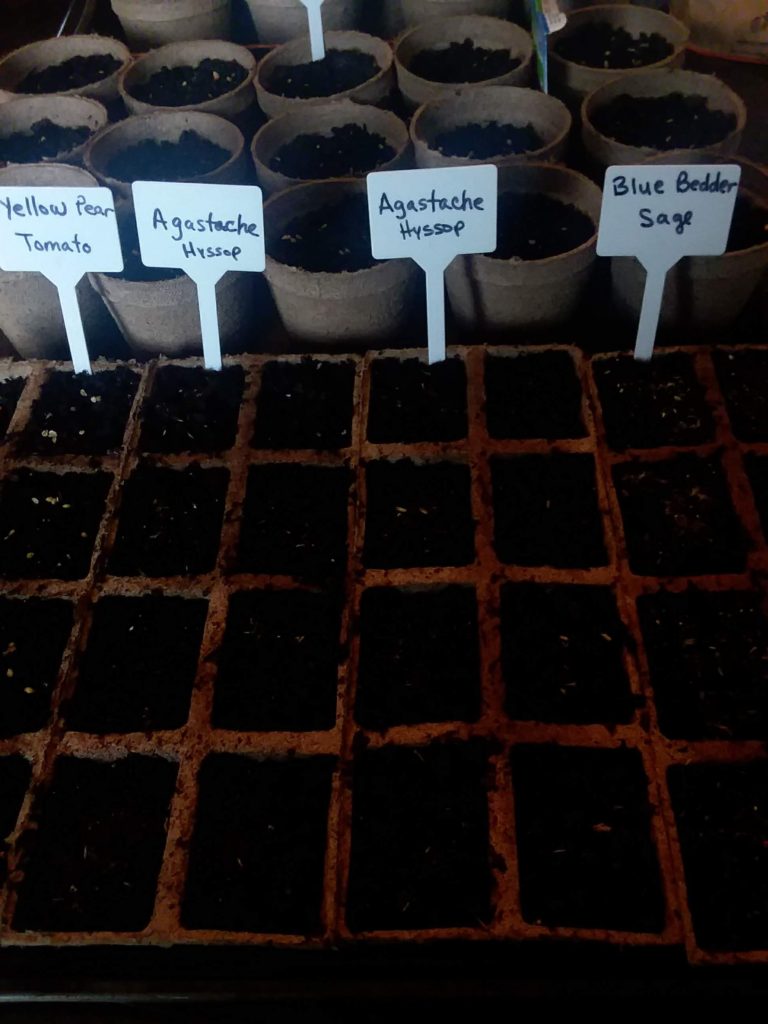
- Paper And Marker/Pen For Labeling
Plant Your Seeds
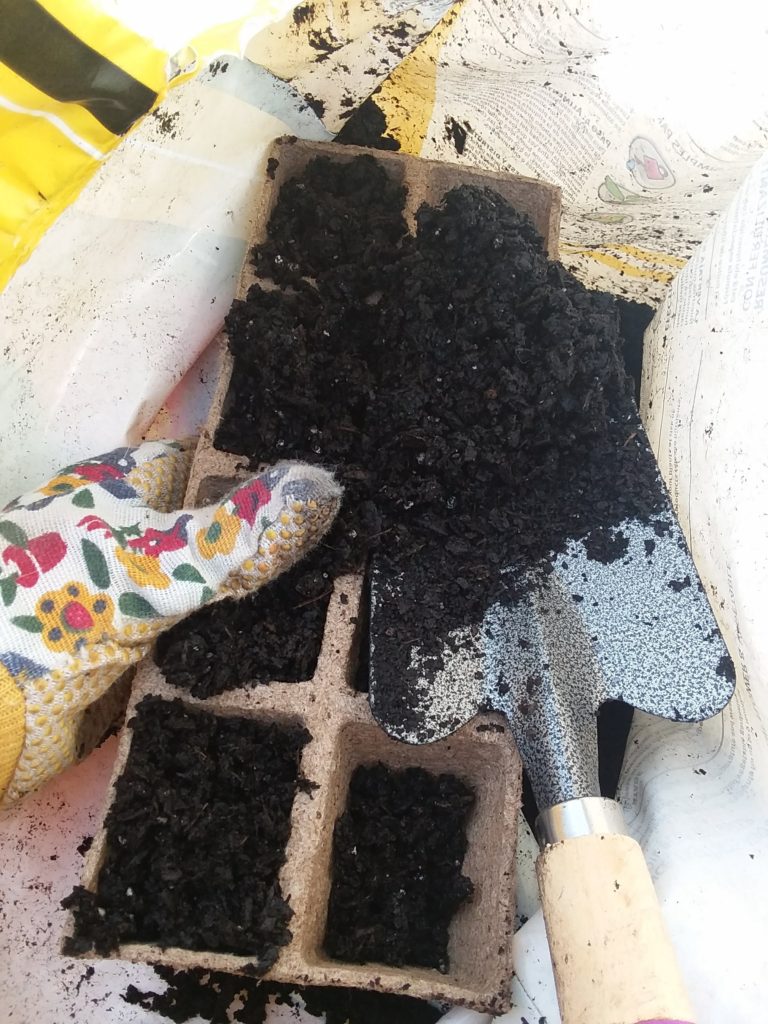
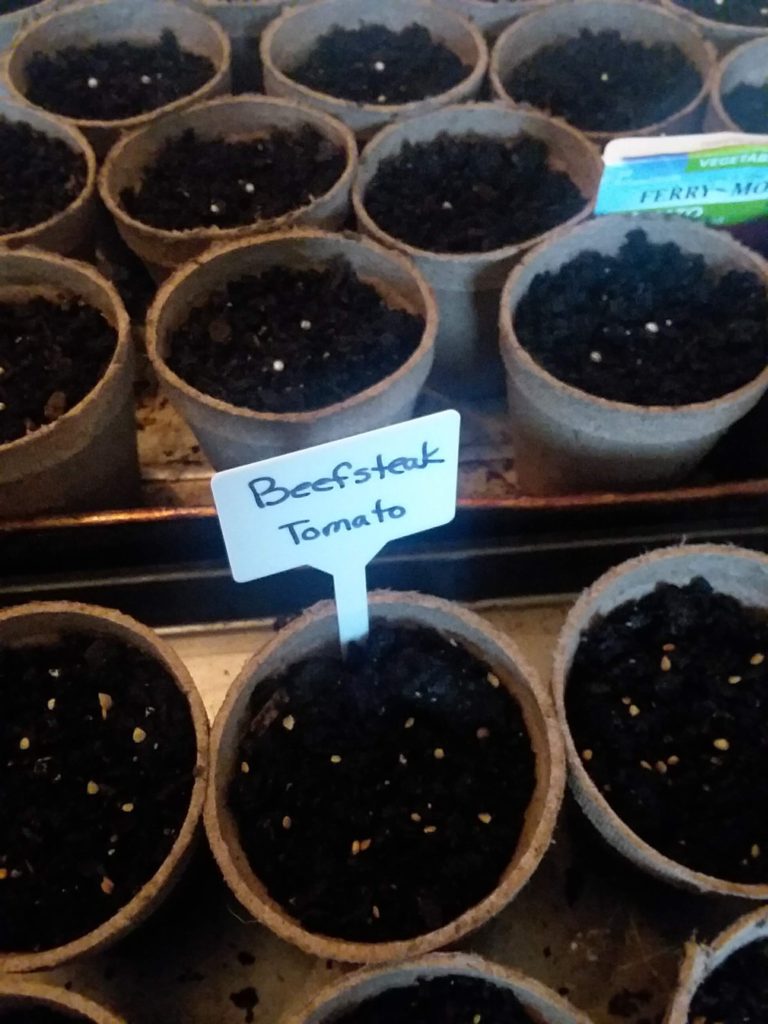
Once you have gathered all of your supplies you may begin. It is best to do this part outside or in the garage. It can be messy. Grab your potting soil, gardening spade, baking trays, and containers to plant in. Cut the top of the bag. Hold each container slightly inside the potting soil bag to fill with the gardening spade and avoid a mess. Shake the soil into but do not press the soil down in the containers. As you fill the containers line them on the baking trays for easy transporting. Next, follow the directions on seed packets to plant. Use the spray bottle to gently water the seeds without washing them away. Place the trays in a brightly lit spot. In a few days, you should see them germinate.
Germination
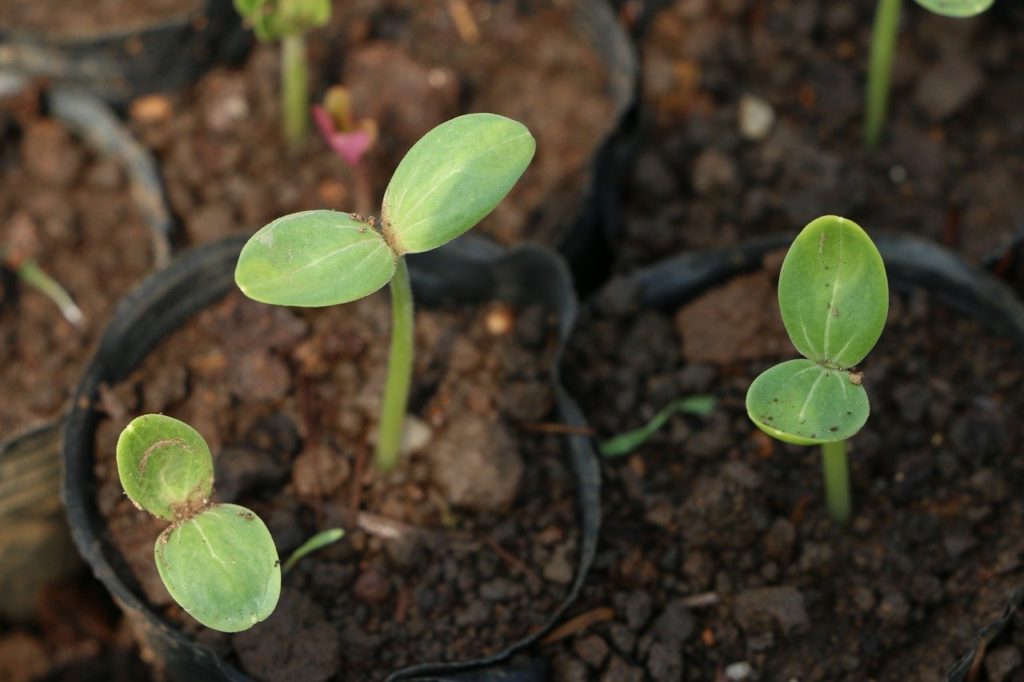
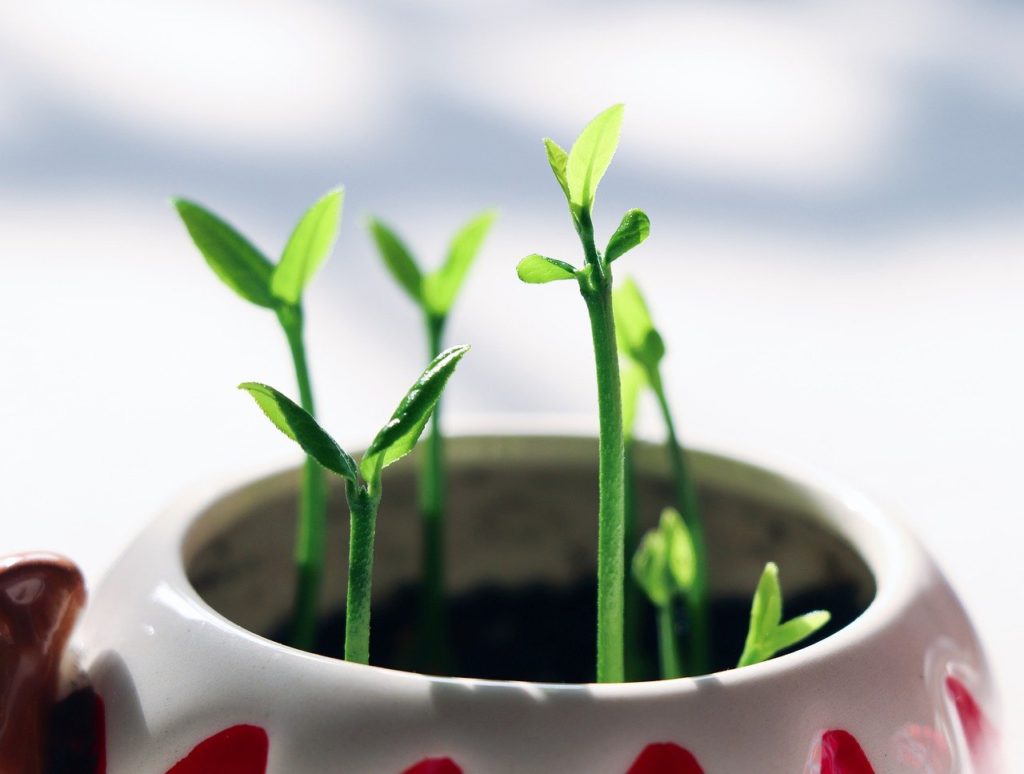
Germination simply means that the seeds are starting to grow. They are responding to the water, soil, warmth, and light and have begun to sprout. It is very exciting to see seeds sprout and grow. As they grow in their water bottle greenhouses you will be able to see their progress. Keep the soil damp. Once they have grown enough simple clip the top portion of the water bottle away or remove the cap for ventilation. The seeds can be thinned and appropriately spaced in larger planters if needed until it is warm enough to plant them outside. This will vary for different plant hardiness zones. Find out your plant hardiness zone by clicking on this link: https://www.gardeningknowhow.com/planting-zones/usda-planting-zone-map.htm.
Transplanting Outside
Ideally, your seedlings should be four to six inches tall before you consider transplanting them outside. In addition to their size they will need time to transition. This just means they need to be placed in a sheltered area out of the wind and straight sun to get used to their new environment. These baby plants will need to be watered a little more because of the evaporation from being outside. Once they have adapted and hardened enough to withstand the change of scenery they are ready to be planted in the ground. Space the seedlings out according to the packet instructions so they have adequate room to grow properly. Congratulations! You have “seeded” your way into Spring. In only a few weeks you should start to see the fruit of your labor.
Sounds like you have a plan on what you are going to do! The repurposing of the plastic bottles is a great way to reuse the plastic! I can’t wait to see your raised gardens!
Me too! Hopefully, the weather will cooperate so it can be done soon!
Sounds like a good plan. Very creative for reusing the water bottles.
Thank you!