I used to make snowflakes every year at school as a child. It is kind of ironic because where I grew up we always had real snow. Now that I live in an area where it almost never ever snows in a lifetime, those snowflake making skills have come in handy. Making paper snowflakes is one of the most inexpensive ways to decorate your home for Christmas, even if you are flat broke. You can go snow crazy in any or all of the rooms of your home and decorate an astoundingly, beautiful, white Christmas.
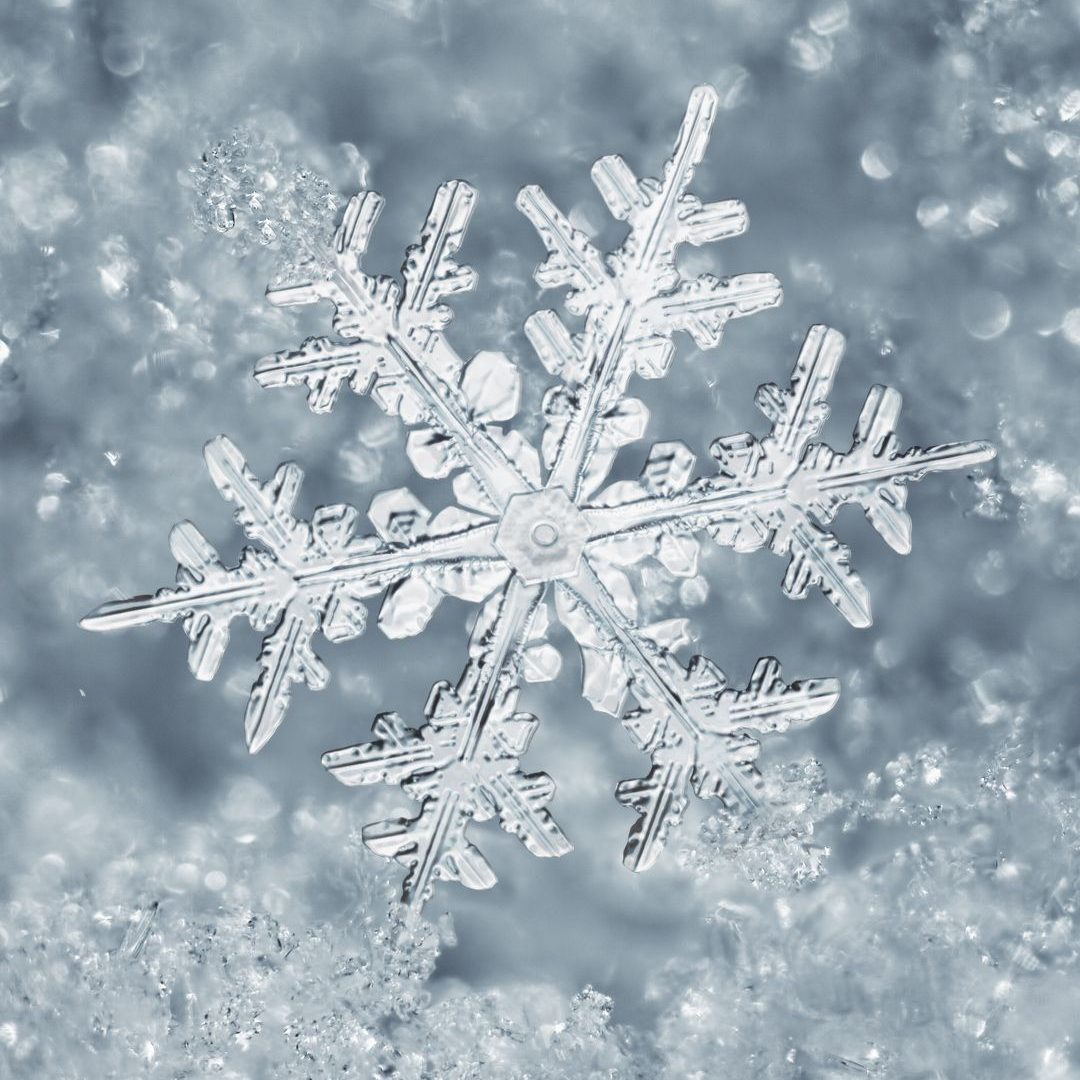
While these are only paper replicas of the incredibly beautiful ice crystals made by God himself beyond number, they are pretty to behold. So I am pausing a moment to acknowledge the majesty of God before we begin. It absolutely amazes me how tiny micro drops of water can freeze into gazillions of unique snow crystals. If you ever get the chance to catch the real deal outside and quickly magnify them, don’t pass it up! The examples each individual snowflake presents is molecular chemistry and geometry at it’s finest. I stand in awe of an incredibly intelligent God who creates indescribable beauty in everything He does. Thank you, Lord, especially for snowflakes!
Gather Supplies Needed
- Scissors
- Copy Paper
- Paper Lunch Bags (white or brown)
- Glue Sticks/Bottle of Glue
- White Thread or Yarn
- Stapler
- Tape
I am going to show you three different types of snowflakes for the list above. Keep the supplies close by. You may want to jump right to the type of snowflakes that you’d like straight away. All three types are beautiful and fun to make. I will be posting video links in each section so that you will have a visual example of how to accomplish its type. This is a fantastic craft to do with young children and other family members. Let’s begin!
Snowflake #1

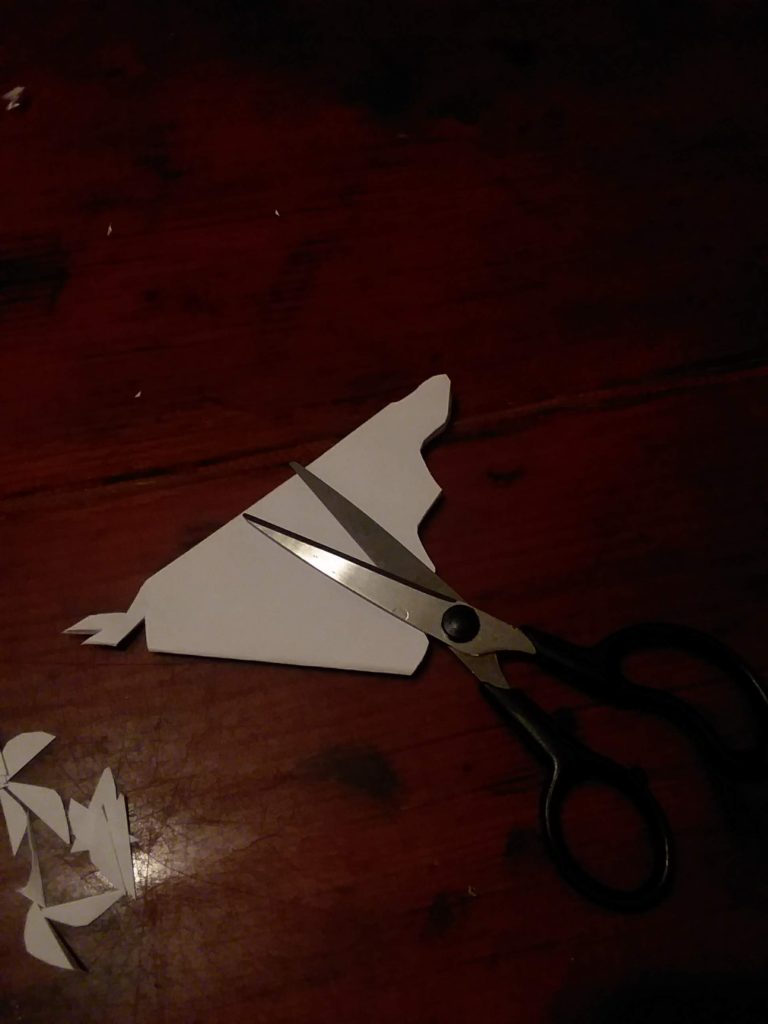
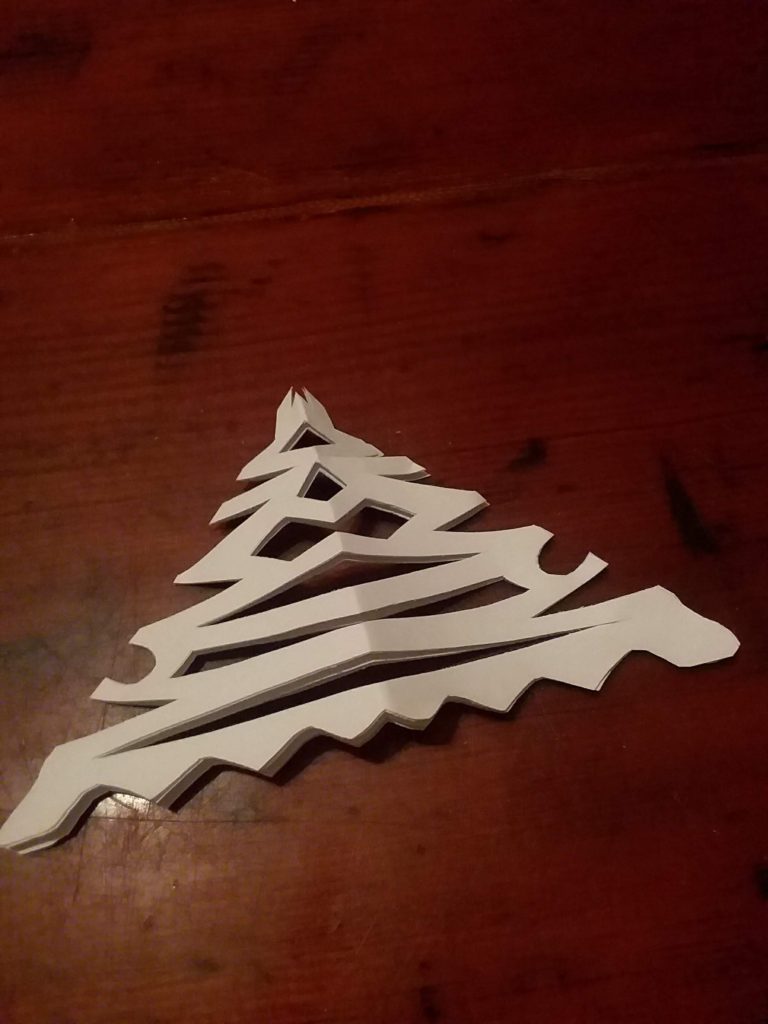
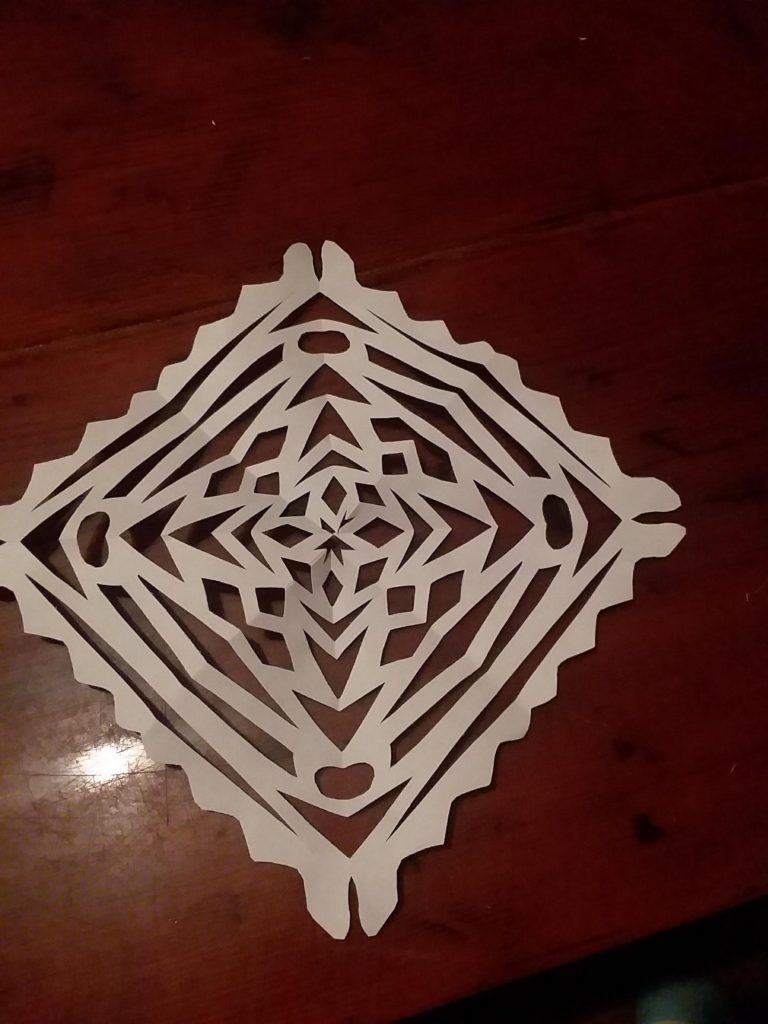
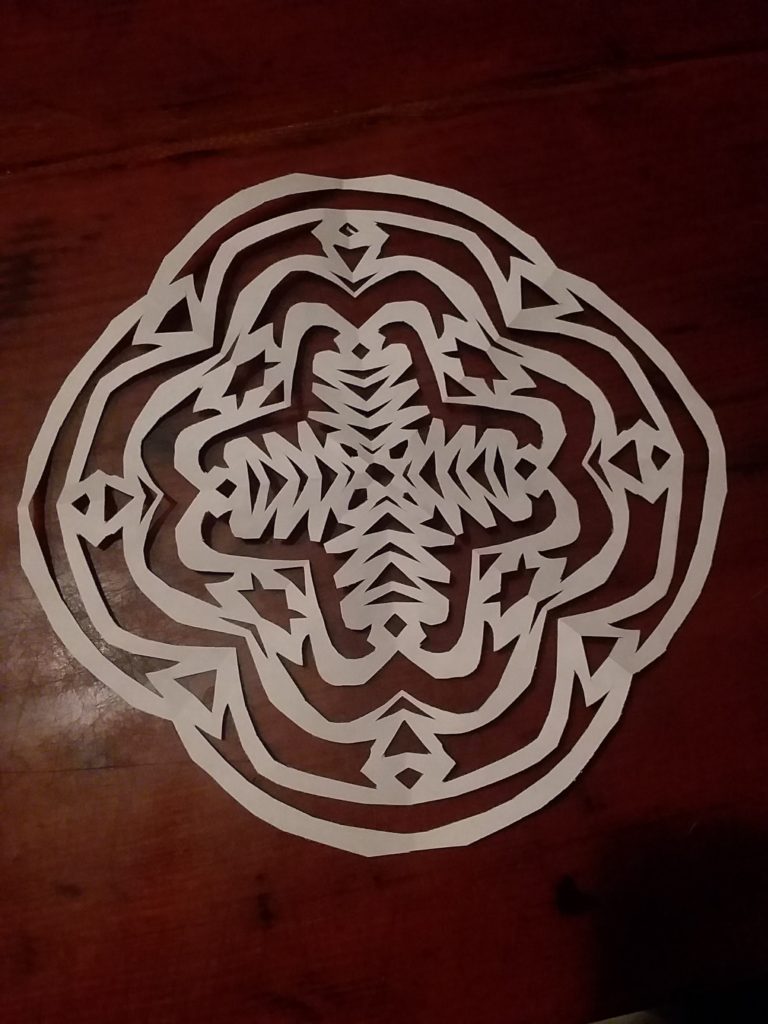
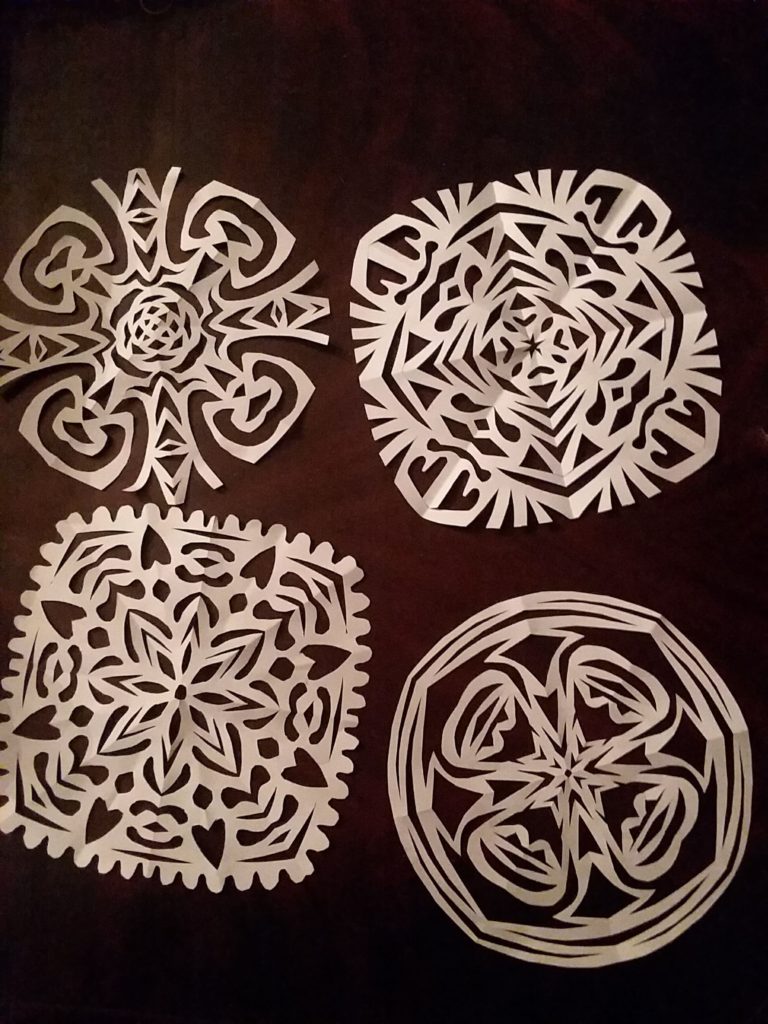
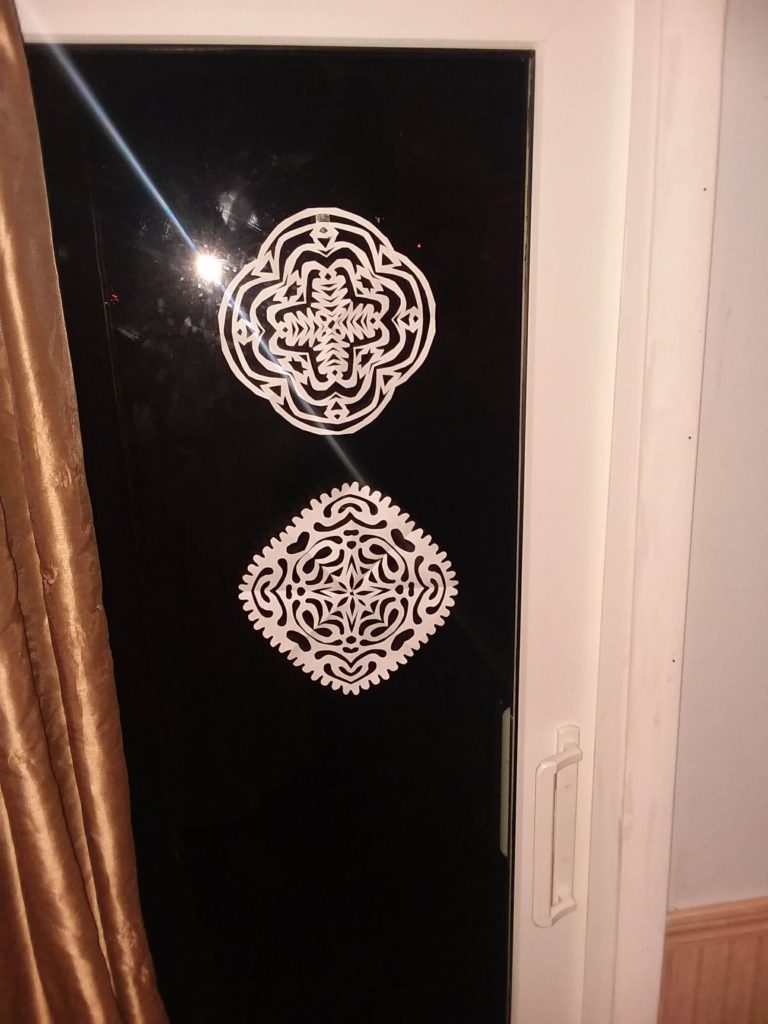
For the first type of two-dimensional snowflake, you will need scissors and basic copy paper. Learning to fold the paper is the most important part of this first type of snowflake. Once you fold the paper correctly, then you can quickly storm up a few snow flurries of your own. Here is the link for a 5-minute snowflake tutorial to help you with a few ideas to start with: https://youtu.be/YeR5p8OocUE
Snowflake #2

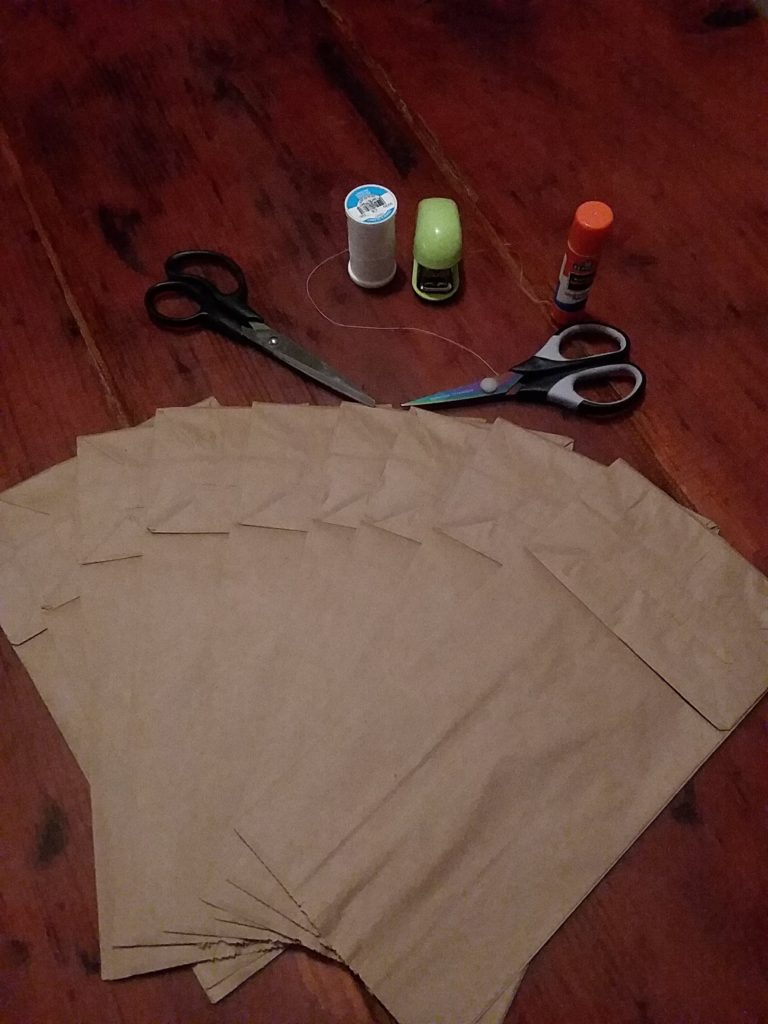
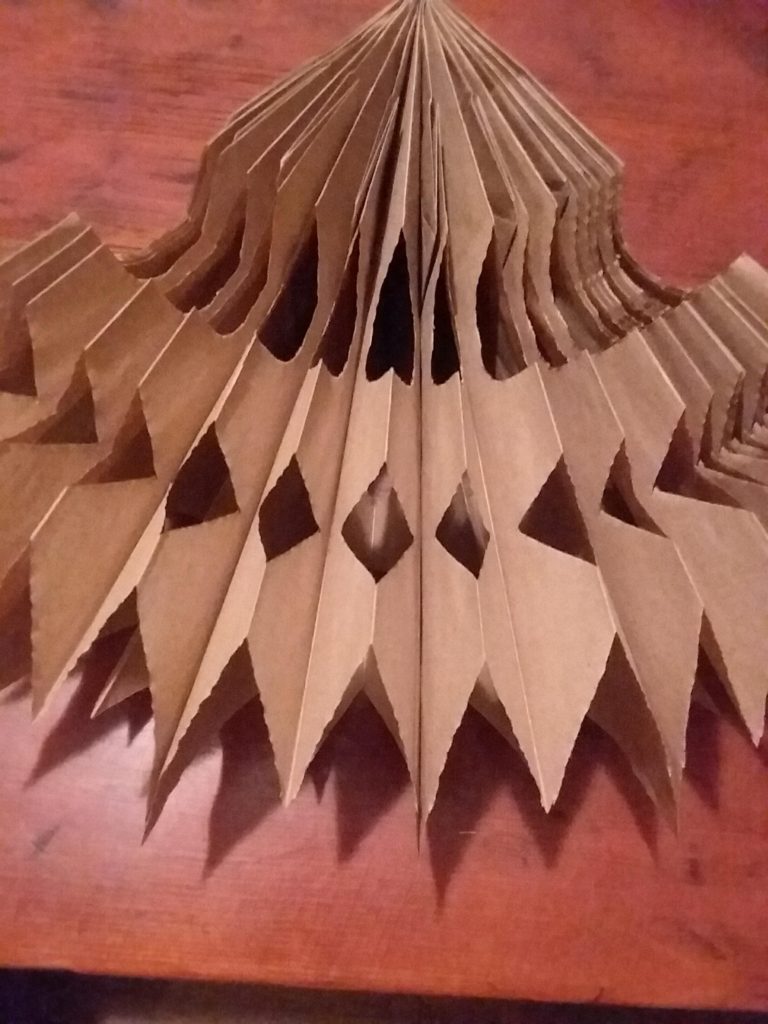
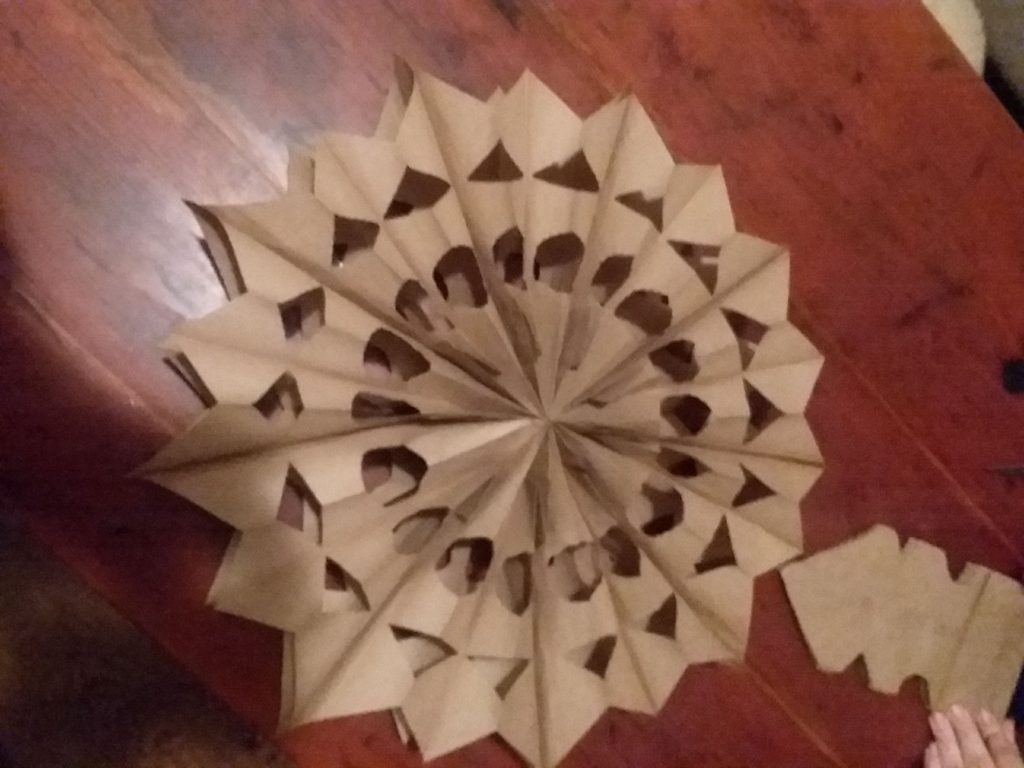
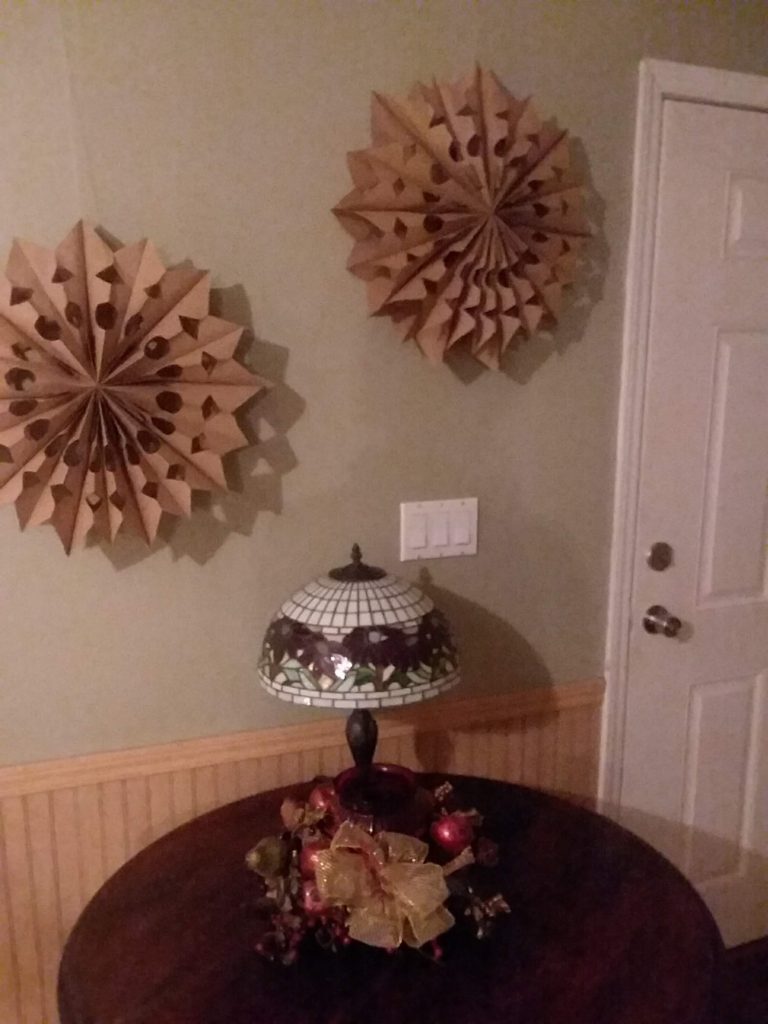
This second snowflake is a much grander one to display. It is three dimensional but is super easy to make. If you have to decorate a large hall or big area these are the ones to do it! For this second type of paper snowflake, you will need paper lunch bags, a large pair of scissors, and a glue stick. I used brown paper bags here. You can also choose to use a bottle of liquid glue instead. Clothespins or paperclips will then be needed to hold the bags together until the glue dries. There are two different videos. Both have the same basic idea although they are slightly different in the exact types of materials and glue used. Here are both the tutorial (3 to 5-minutes) video links to begin: https://youtu.be/_rznN-GXr3Q and https://youtu.be/ks1FRedU5LI.
Snowflake #3

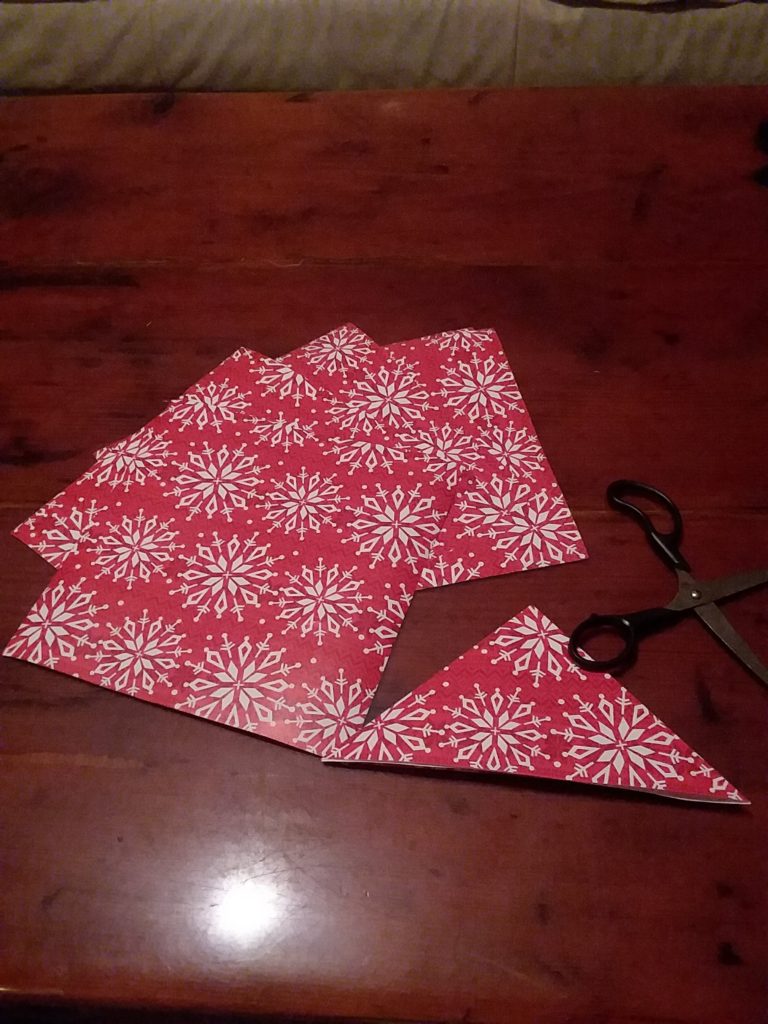
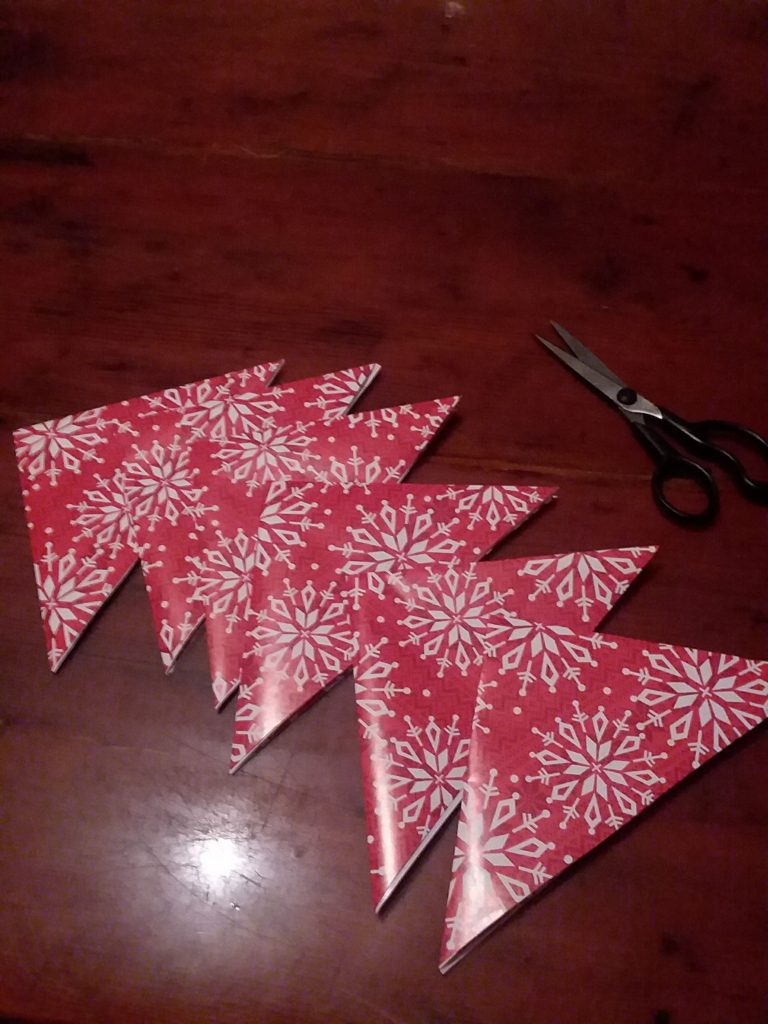
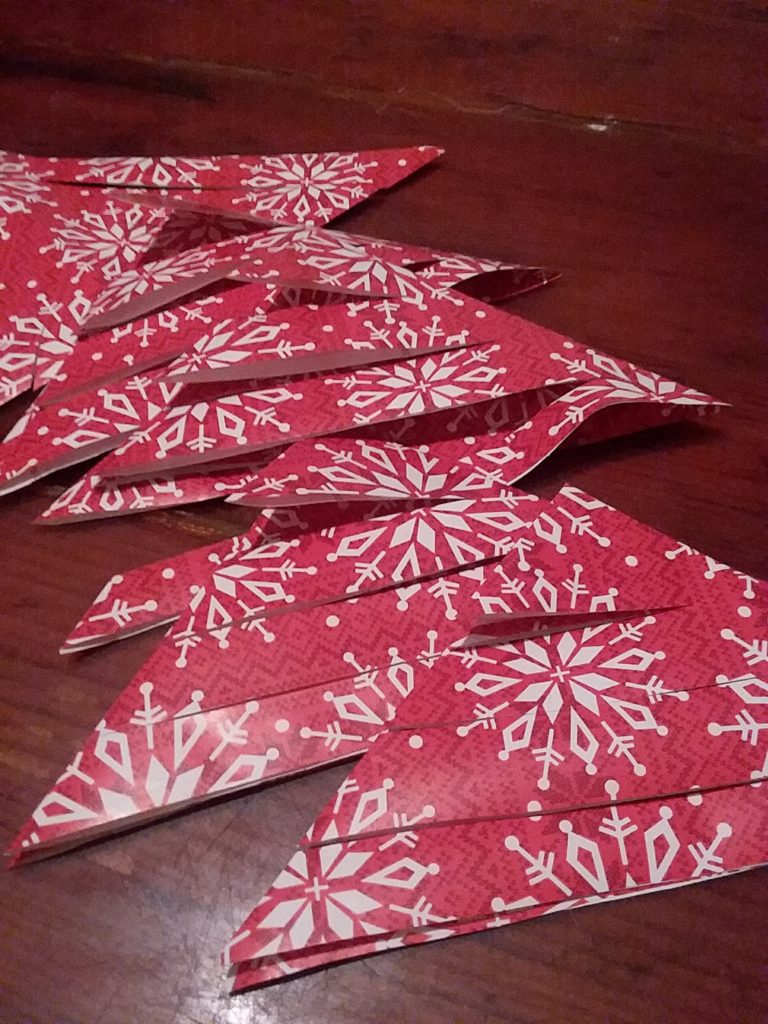
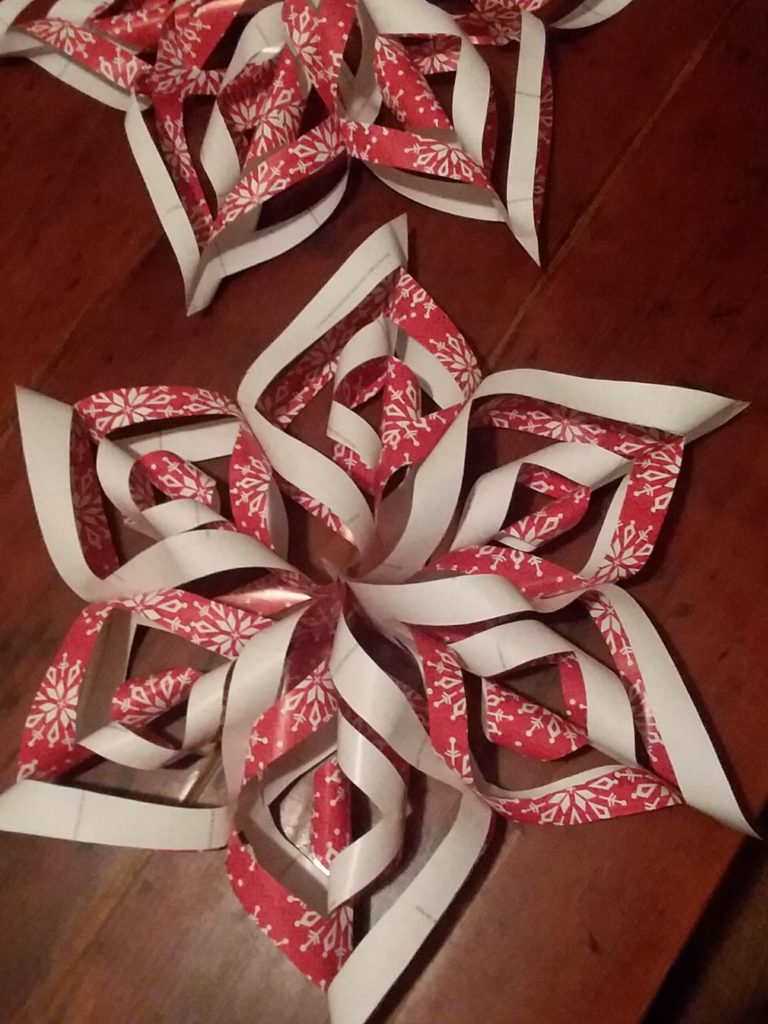
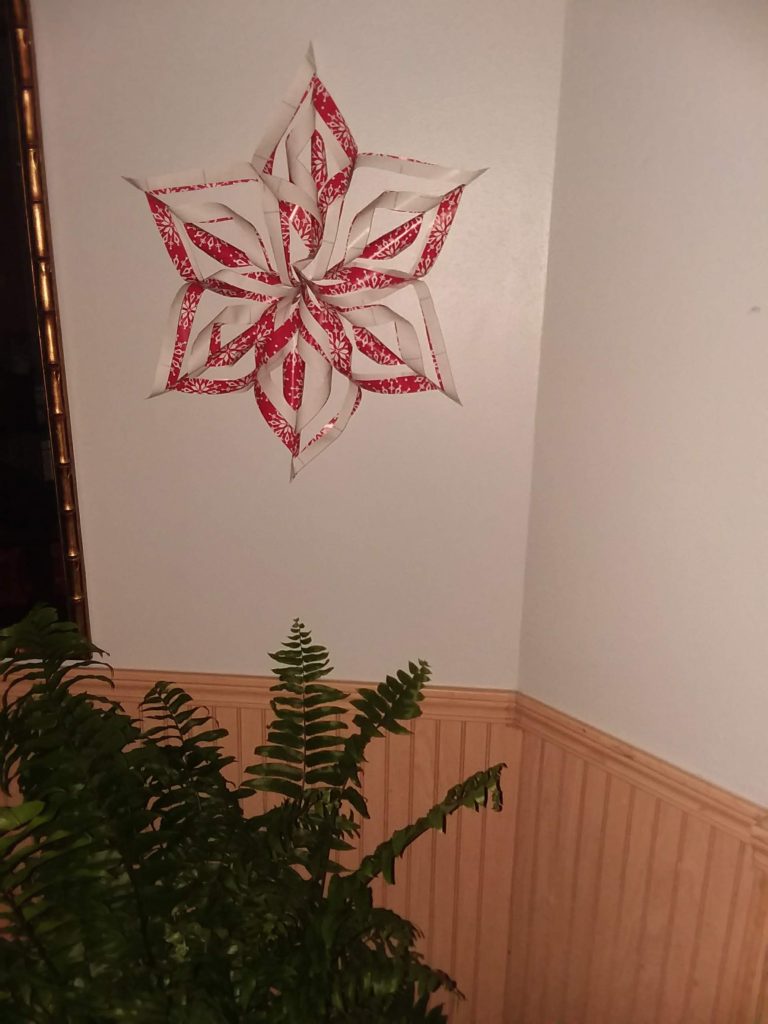
The third snowflake, which is also 3-D and large in size, requires six pieces of paper, scissors, tape, stapler with staples. I used wrapping paper for a candy cane effect with mine. Although it takes a little more time to make it goes together with ease. Each step is quite simple to do. You can use larger squares of paper to increase the overall size to fit your need with this one. Consequently, as long as they are equal squares, it will work. Here is the final 3-minute tutorial link: https://youtu.be/lT2oeNkTOAk.
In conclusion, as with anything DIY, you can add embellishments like glitter or use different colors and types of paper. Silver wrapping paper brings a new level of elegance to the scene. Using leftover pieces of colorful wrapping paper can make an adorable addition to a gift package. You can even add some battery operated fairy lights! Let your creativity be free! Cozy up and get ready for a white Christmas! With all the paper snowflakes you can make, “Let it snow! Let it snow! Let it snow!”



Those snowflakes are beautiful! Looks like a wonderful craft to try to do too! Look forward to trying this out!
Thank you! This is one of my favorite winter crafts to make!